Is your vinyl plank flooring showing signs of wear or damage? Don’t worry—repairing it might be easier than you think.
Imagine saving money and giving your floor a fresh, polished look without calling a professional. In this guide, you’ll discover simple, step-by-step methods to fix common problems with your vinyl planks. By the end, you’ll feel confident tackling repairs yourself and making your floors look brand new.
Ready to restore your flooring and protect your investment? Let’s get started!
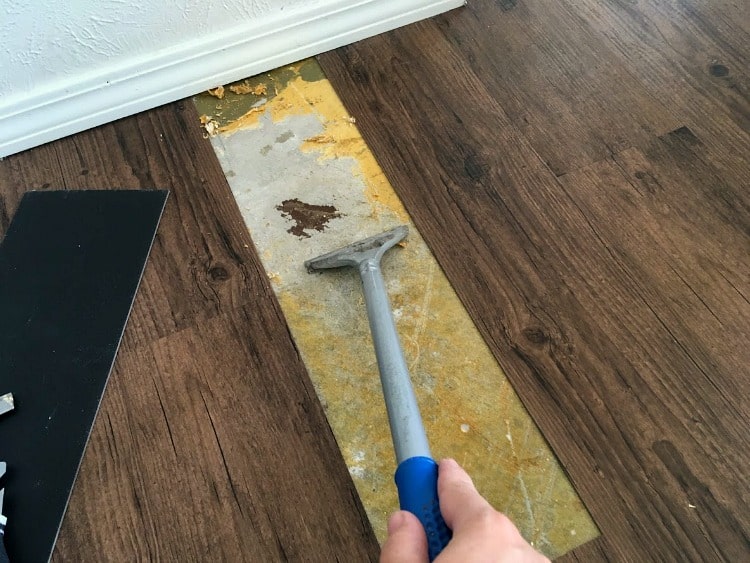
Credit: thepalettemuse.com
Tools And Materials Needed
Repairing vinyl plank flooring requires some basic tools and materials. Having the right items ready makes the job easier and faster. This section lists what you need to fix your vinyl floor correctly.
Essential Tools
A utility knife is key for cutting damaged planks. Use a straight edge or ruler to guide your cuts. A pry bar helps lift old planks without breaking them. A putty knife smooths the floor patch or adhesive. A tape measure ensures precise measurements for replacements. A rubber mallet gently taps new planks in place. Finally, a clean cloth helps wipe away dust and debris.
Necessary Materials
Replacement vinyl planks must match your existing floor. Vinyl flooring adhesive or double-sided tape secures new planks. Floor patch compound fills small holes or dents. Cleaning solution removes dirt before repair. Wood filler repairs damage to subflooring under vinyl. Sandpaper smooths rough edges before installing new planks. Keep a bucket of water handy for cleanup.
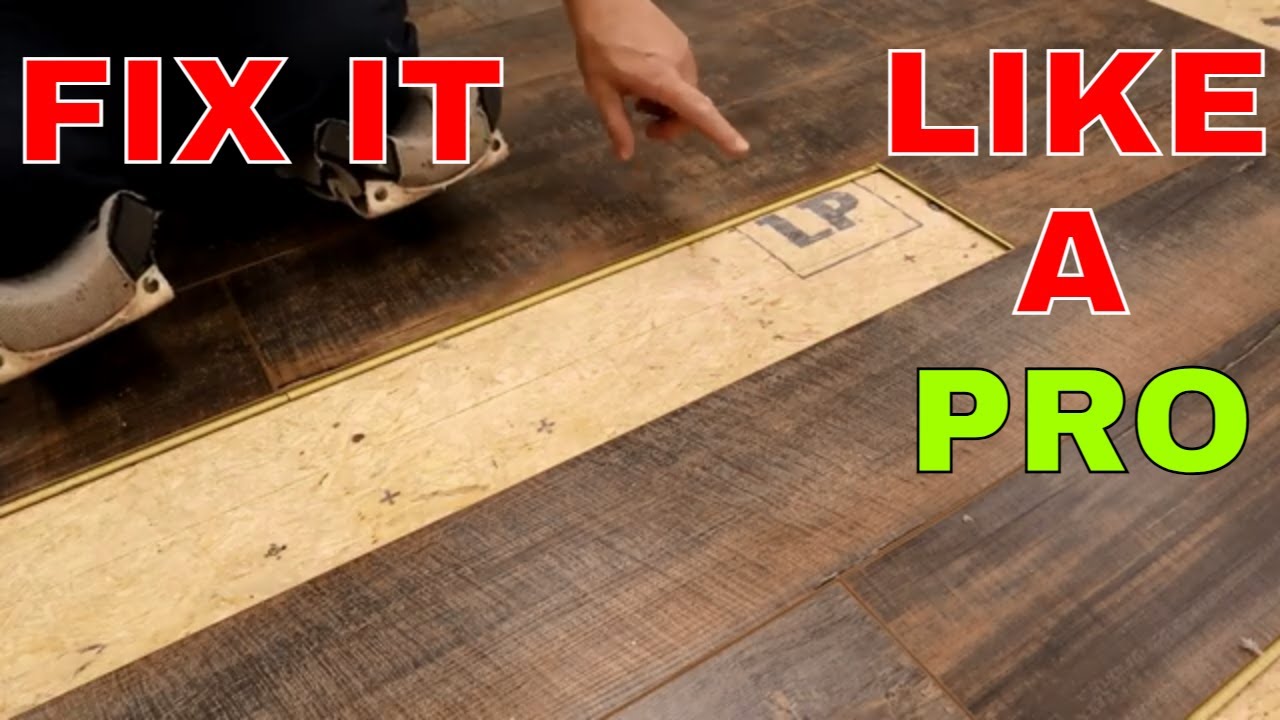
Credit: www.youtube.com
Identifying Flooring Damage
Identifying damage in vinyl plank flooring is the first step to fixing it properly. Knowing the type and size of the damage helps choose the right repair method. Careful inspection can save time and money. Look closely at your floor to spot all issues early.
Common Types Of Damage
Vinyl plank flooring can suffer from many types of damage. Scratches are the most frequent problem. These happen from moving furniture or pets’ nails. Dents and gouges occur from heavy objects dropping. Water damage causes warping or swelling in planks. Stains can leave ugly marks if not cleaned quickly. Sometimes, planks may lift or separate from the floor.
Assessing The Extent Of Repair
Check how deep and wide the damage is. Small scratches might only need polishing or filling. Deep gouges or dents may require plank replacement. For water damage, check if the plank feels soft or swollen. Look under the plank if possible to find hidden damage. Measure the damaged area to buy the correct materials. Decide if the repair can be done by yourself or needs a professional.
Preparing The Work Area
Preparing the work area is an important first step in repairing vinyl plank flooring. A clean and organized space makes the repair process easier and safer. It also helps you avoid damaging other parts of the floor or furniture. Taking time to prepare well can save effort later.
Clearing The Space
Start by moving all furniture and rugs away from the repair area. Clear the floor completely to give yourself enough room to work. Remove small items like toys, shoes, or decorations. This prevents accidents and protects your belongings from dust or glue. A clear space also lets you see the damaged planks better.
Gathering Supplies
Collect all tools and materials before you begin. Common supplies include replacement vinyl planks, adhesive, a utility knife, and a straight edge. You might also need a putty knife and cleaning cloths. Having everything ready saves time and keeps you focused. Check that all supplies are in good condition and suitable for your flooring type.
Removing Damaged Planks
Removing damaged vinyl planks is a key step in fixing your floor. This process helps keep the floor looking fresh and extends its life. Proper removal avoids damaging surrounding planks. Careful cutting and safe removal make the job easier and cleaner.
Cutting Techniques
Start by marking the damaged plank with a pencil. Use a straight edge for a clean line. A utility knife works best for cutting vinyl planks. Score the plank deeply along the marked line. Make several passes with the knife to cut through the surface layer. Avoid cutting too deep to protect the subfloor. Use a handsaw or jigsaw if the plank is thick. Cut slowly to keep the edges straight and smooth.
Safe Removal Tips
Wear gloves to protect your hands from sharp edges. Use a putty knife or chisel to lift the plank gently. Start at a corner and work slowly to avoid breaking nearby planks. Remove any adhesive left on the subfloor with a scraper. Clean the area thoroughly before installing the new plank. Dispose of broken pieces safely to avoid injury.
Installing Replacement Planks
Installing replacement planks is a key step in fixing vinyl plank flooring. This process restores the floor’s look and protects it from damage. Careful measurement and fitting are essential for a clean result. Follow simple steps to ensure the new planks fit perfectly and stay secure.
Measuring And Cutting New Planks
Start by measuring the space where the plank will go. Use a tape measure for accuracy. Mark the plank with a pencil to show where to cut. Cut along the mark using a utility knife or saw. Cut slowly to avoid mistakes. Check the plank against the space to ensure a good fit.
Fitting And Securing
Place the new plank into the gap carefully. Align it with the surrounding planks. Press down firmly to lock it in place. If needed, use a tapping block and mallet to fit the plank tightly. Avoid damaging the plank edges during this step. Make sure the plank sits level with the floor. This keeps the surface smooth and safe to walk on.
Sealing And Finishing
Sealing and finishing vinyl plank flooring is a key step to protect your repair work. This process keeps moisture out and prevents dirt from settling in. It also helps the repaired area look smooth and neat.
Good sealing ensures the floor lasts longer and stays easy to clean. Finishing gives your floor a uniform look that blends well with the rest of the room. Let’s explore how to do this correctly.
Applying Sealant
Start by choosing a sealant made for vinyl floors. Use a small brush or roller to apply a thin, even coat. Cover the repaired plank fully, but avoid thick layers.
Let the sealant dry completely. This usually takes a few hours. Apply a second coat if needed, for extra protection. Be careful not to flood the area with sealant.
Blending With Existing Floor
After sealing, the repaired spot might look different from the rest. Use a matching finish or polish to blend colors and shine.
Apply the finish lightly and feather it outwards. This softens the edges and hides the repair line. Check the floor in different lights to make sure it looks even.
Maintaining Vinyl Plank Flooring
Maintaining vinyl plank flooring is key to keeping it looking good and lasting long. Regular care protects the surface from scratches, stains, and wear. Simple steps can help preserve your floor’s beauty and function.
Cleaning Tips
Clean vinyl plank floors with a soft broom or vacuum. Avoid harsh brushes that can scratch the surface. Use a damp mop with warm water and mild soap for deeper cleaning. Never use abrasive cleaners or wax on vinyl floors. Wipe spills quickly to prevent stains and damage. Dry the floor after mopping to stop water from seeping into seams.
Preventing Future Damage
Place felt pads under furniture legs to avoid scratches. Avoid dragging heavy items across the floor. Use rugs or mats in high-traffic areas to reduce wear. Keep pet nails trimmed to prevent scratches. Protect the floor from direct sunlight to stop fading. Regularly check for loose planks and fix them right away.
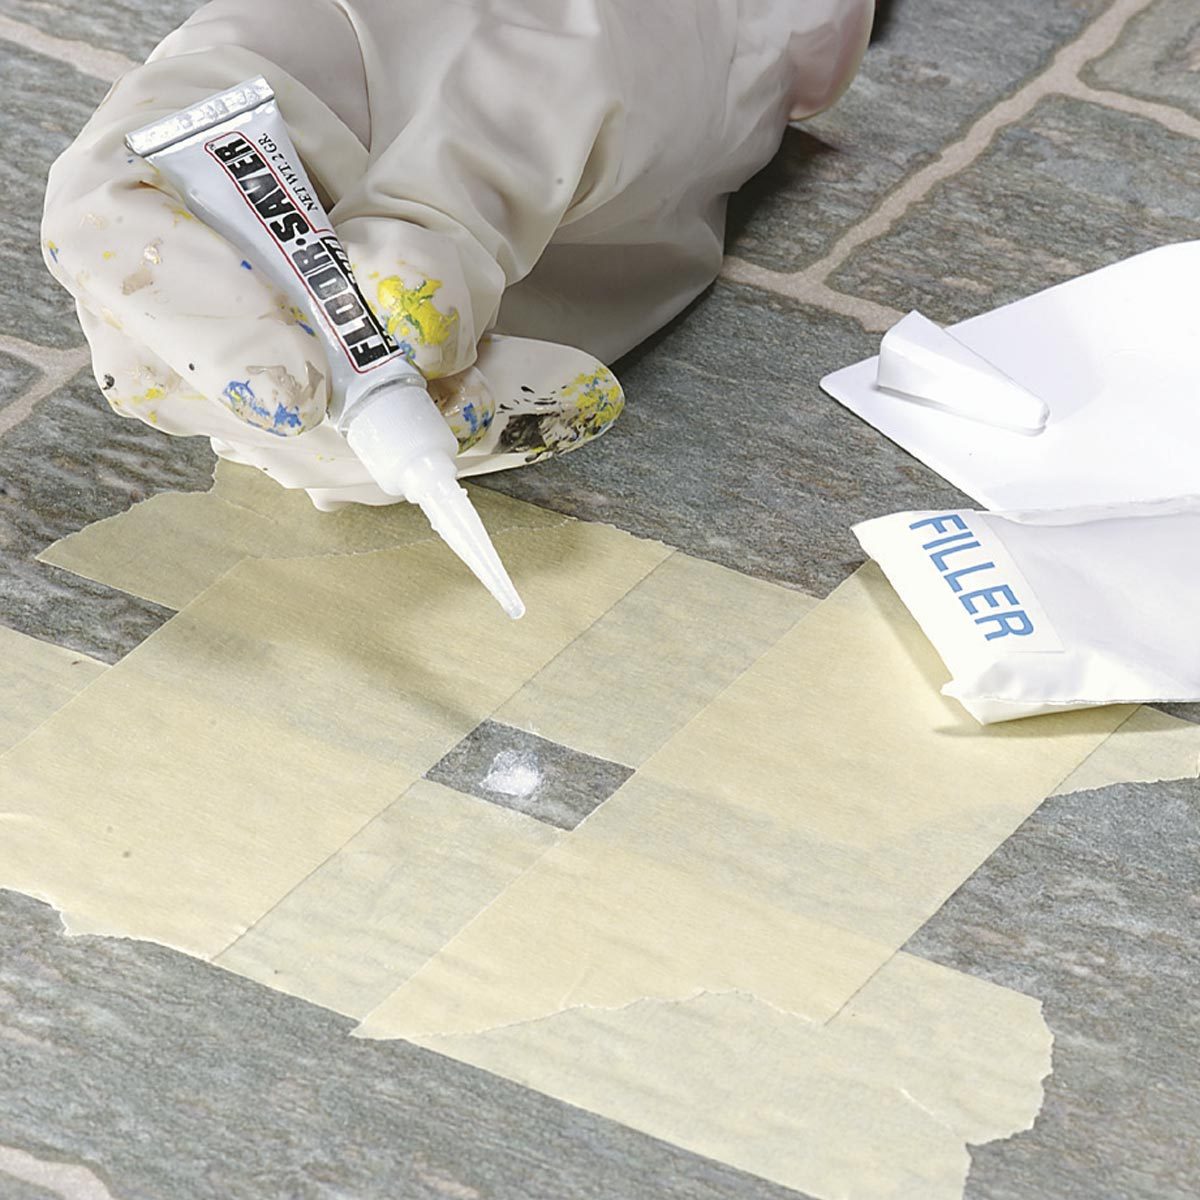
Credit: www.familyhandyman.com
Frequently Asked Questions
How Do I Fix A Scratch On Vinyl Plank Flooring?
Light scratches can be repaired using a vinyl floor repair kit or colored wax sticks. Clean the area first, then apply the product gently. Buff lightly to blend the repair with the floor.
Can I Replace A Damaged Vinyl Plank Easily?
Yes, you can replace a damaged plank by lifting the damaged piece and snapping in a new one. Make sure to use the same style and size for a perfect match. Take care not to damage surrounding planks.
What Causes Vinyl Plank Flooring To Crack?
Vinyl planks crack due to heavy impacts, extreme temperature changes, or poor installation. Avoid dropping heavy objects and maintain stable room temperature. Proper installation also prevents cracking.
How Do I Clean Vinyl Plank Flooring After Repair?
Use a soft broom or vacuum to remove dust and debris. Mop with a mild cleaner and warm water, avoiding harsh chemicals. Dry the floor with a clean cloth to prevent water damage.
Final Words
Repairing vinyl plank flooring does not need to be hard. Small scratches and dents can often be fixed quickly. Replace damaged planks to keep the floor looking new. Use the right tools to make repairs easier. Regular care helps the floor last longer.
With some patience, you can save money and time. Your floor will look nice again and stay strong. Try these steps to keep your home beautiful. Simple fixes can make a big difference.