Is your hardwood floor uneven or bumpy? It can be frustrating to walk on or place furniture without wobbling.
But here’s the good news: you don’t need to call a pro right away. You can learn how to level a hardwood floor yourself with the right steps. You’ll discover simple, clear methods to fix those dips and high spots.
By the end, your floor will feel smooth and look stunning. Ready to transform your space and protect your flooring investment? Let’s get started!
Tools And Materials Needed
Leveling a hardwood floor requires the right tools and materials. These help ensure the floor is smooth and even. Using proper equipment makes the job easier and more accurate.
This section lists the essential tools and recommended materials. Prepare these before starting your project for better results.
Essential Tools
- Carpenter’s level – to check floor flatness
- Moisture meter – to measure wood moisture
- Floor scraper – to remove old glue or debris
- Sander or belt sander – to smooth uneven areas
- Hammer and nails or nail gun – for securing boards
- Rubber mallet – to tap boards into place
- Tape measure – for precise measurements
- Chalk line – to mark straight lines
- Putty knife – to apply wood filler
- Vacuum cleaner – to clean dust and debris
Recommended Materials
- Wood filler – to fill gaps and holes
- Floor leveling compound – for major uneven spots
- Wood shims – to raise low areas
- Sandpaper (various grits) – for smoothing surfaces
- Replacement hardwood planks – for damaged boards
- Wood glue – to secure loose boards
- Protective finish or sealant – to protect the floor
- Painter’s tape – to protect walls and edges
Assessing The Floor Condition
Before starting to level a hardwood floor, check its condition carefully. This step helps find problem areas that need fixing. A well-assessed floor prevents future damage and ensures a smooth finish.
Take your time to inspect the entire floor. Look for spots that feel uneven or damaged. Knowing these details guides your repair work and saves effort later.
Identifying Uneven Spots
Walk slowly across the floor. Notice if any parts feel higher or lower under your feet. Uneven spots often cause squeaks or gaps between boards. Mark these areas with chalk or tape. This makes them easy to find during repair.
Check corners and edges closely. These areas tend to shift or warp over time. Look for cracks, holes, or loose boards too. All these signs show where leveling is needed most.
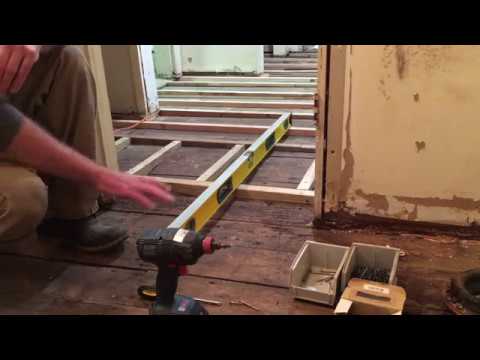
Measuring Floor Level
Use a level tool to measure the floor’s flatness. Place the level in different spots and directions. The bubble inside shows if the floor tilts or stays even. For large rooms, use a long level or laser level for better results.
Record measurements to compare high and low points. This helps plan where to add or remove material. Accurate measuring ensures a balanced floor and smooth surface.
Preparing The Floor
Preparing the floor is the first step in leveling a hardwood floor. A clean, smooth surface helps the leveling process go well. It removes dirt and old layers that can stop new materials from sticking properly. This step takes time but pays off in a better finish and longer-lasting floor.
Cleaning The Surface
Start by sweeping the floor to remove dust and loose debris. Use a vacuum to clean corners and tight spaces. Wipe the floor with a damp cloth to pick up smaller dirt particles. Avoid soaking the wood to prevent damage. A clean surface helps leveling compounds bond well.
Removing Old Finishes
Old paint, varnish, or wax can block new layers. Use a chemical stripper or sandpaper to remove these finishes. Work in small sections for better control. Sand the floor evenly to avoid bumps. Removing old finishes ensures better adhesion for the leveling materials.
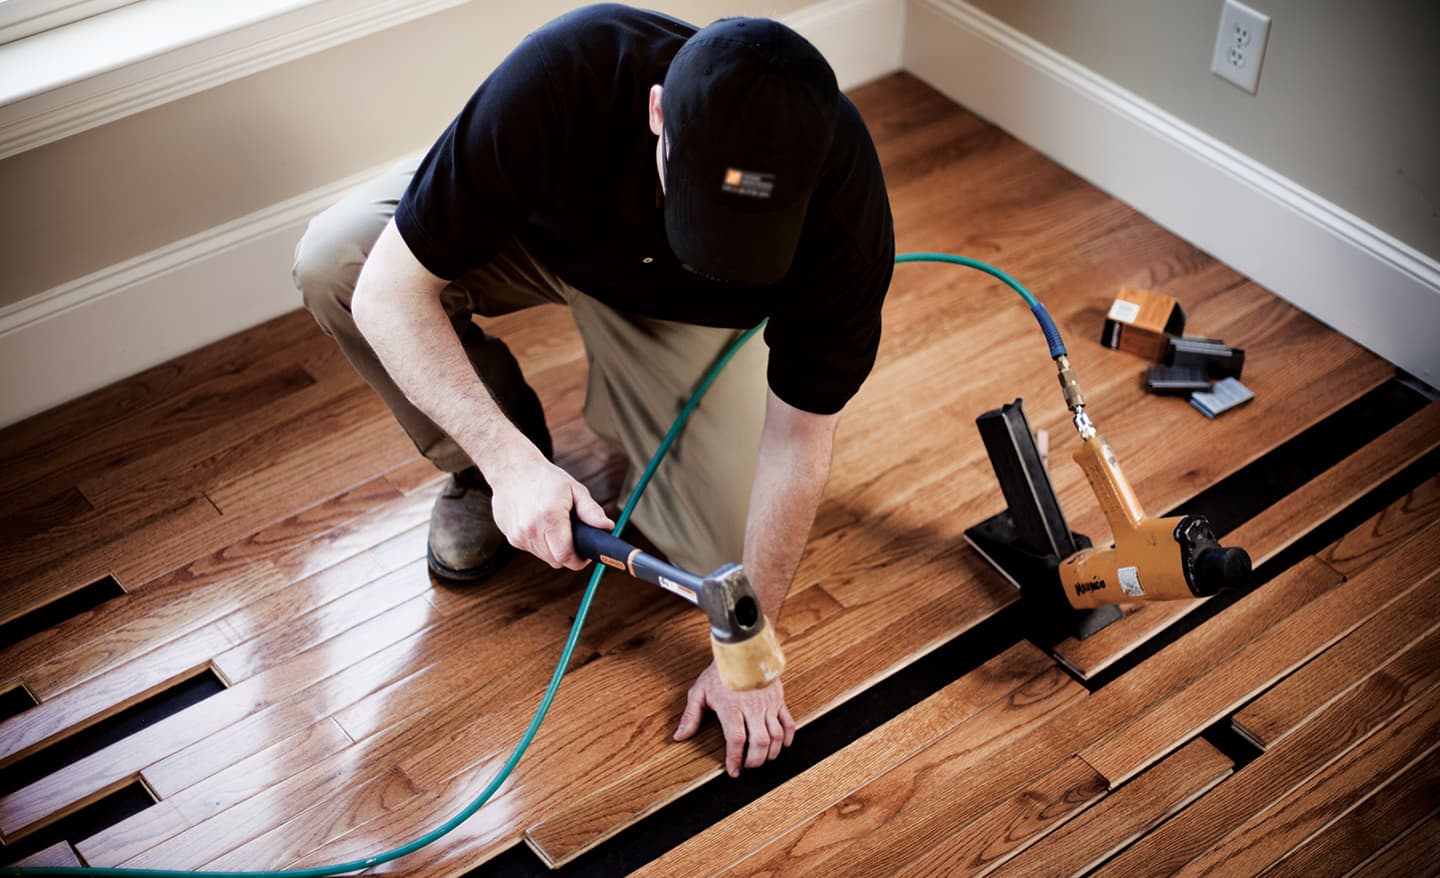
Credit: www.youtube.com
Fixing Low Spots
Fixing low spots on a hardwood floor is important for a smooth, even surface. These dips can cause problems with furniture, walking, and finishing. Small low spots are easy to fix with simple materials. Larger dips may need more work to level out. The goal is to fill these areas so the floor looks flat and feels comfortable underfoot.
Using Floor Leveler Compound
Floor leveler compound is a quick way to fix low spots. It is a liquid that hardens to create a flat surface. First, clean the area to remove dust and debris. Mix the floor leveler according to the instructions. Pour it into the low spot and spread it evenly with a trowel. Let it dry completely before sanding or finishing. This method works best for bigger dips or uneven patches.
Applying Wood Filler
Wood filler is ideal for small low spots or cracks. It comes in a paste form and is easy to use. Clean the area and make sure it is dry. Use a putty knife to press the wood filler into the low spot. Smooth it out to match the floor’s surface. Allow it to dry fully, then sand it lightly for a perfect finish. Wood filler blends well with hardwood and helps keep the floor strong.
Sanding For Smoothness
Sanding is key to making a hardwood floor smooth and even. It removes bumps and old finish. This step prepares the floor for a fresh look. Proper sanding improves the floor’s appearance and feel underfoot.
Careful sanding helps to avoid scratches and uneven spots. It shapes the wood surface perfectly before finishing. Getting the right tools and methods is important. This ensures the floor looks great and lasts longer.
Choosing The Right Sandpaper
Select sandpaper grit based on floor condition. Start with coarse grit for rough spots or old finish. Then use medium grit to smooth rough areas. Finish with fine grit for a soft, even surface.
Coarse grit ranges from 40 to 60. Medium grit is around 80 to 100. Fine grit falls between 120 and 150. Change sandpaper when it wears out. Using the correct grit prevents damage and saves time.
Sanding Techniques
Always sand along the wood grain. This helps prevent scratches across the floor. Use a floor sander for large areas. Hand sand edges and corners carefully.
Move the sander steadily and evenly. Avoid staying too long in one spot. Over-sanding can create dips in the floor. Check progress often to keep the surface flat.
After sanding, clean dust with a vacuum and cloth. Dust-free surface allows better finish application. Proper sanding sets the base for a beautiful hardwood floor.
Final Touches
After leveling your hardwood floor, the final touches make all the difference. These steps ensure your floor looks great and lasts longer. Taking time for cleaning and applying the right finish will protect your work and enhance the wood’s beauty.
Cleaning Dust And Debris
Remove all dust and debris from the floor surface. Use a soft broom or vacuum with a brush attachment. Avoid harsh cleaning tools that might scratch the wood. Wipe the floor with a damp cloth to catch fine dust. Ensure the floor is dry before moving to the next step.
Applying Finish Or Sealant
Choose a finish or sealant suitable for hardwood floors. This protects the wood from moisture and wear. Apply a thin, even coat using a brush or roller. Follow the grain of the wood for the best look. Allow the finish to dry fully before walking on the floor. Apply a second coat if needed for extra protection.
Maintenance Tips
Maintaining a level hardwood floor is key to keeping your home safe and beautiful. Regular care helps avoid dips and bumps. It also extends the floor’s life. Small steps every day make a big difference.
Preventing Future Unevenness
Check your floor for signs of damage often. Fix small cracks or gaps fast. Keep your home’s humidity steady. Use a humidifier in dry months. Avoid heavy furniture dragging on the floor. Use pads under furniture legs to stop scratches and dents. These steps stop uneven spots from growing.
Regular Cleaning Practices
Sweep or vacuum floors daily to remove dirt. Dirt and grit can scratch the wood surface. Use a damp mop with a cleaner made for hardwood. Avoid soaking the floor with water. Dry the floor quickly after mopping. Clean floors help you spot problems early. They also keep the wood strong and smooth.
Credit: www.homedepot.com
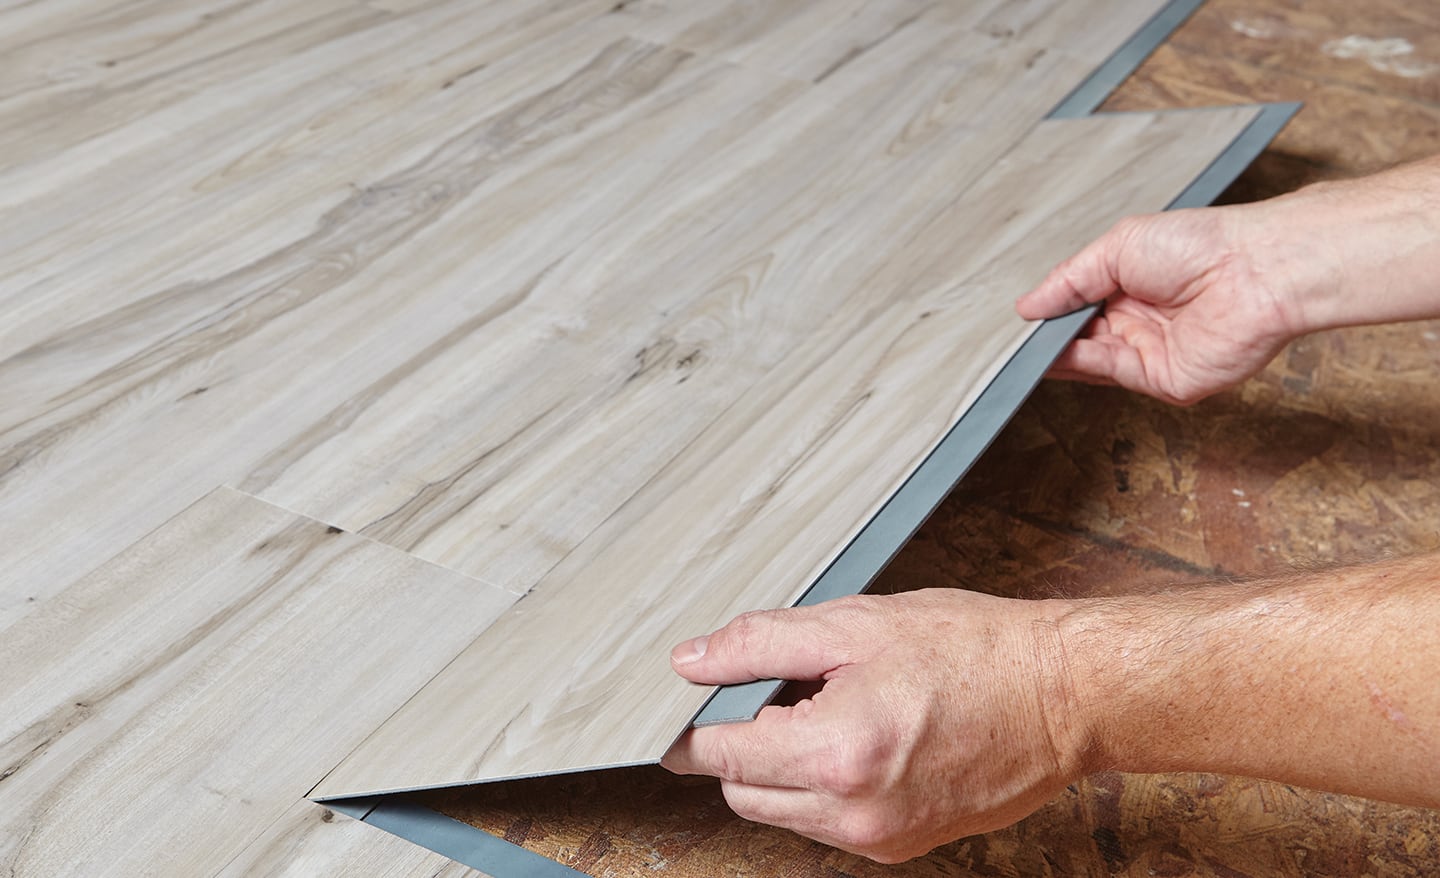
Credit: www.homedepot.com
Frequently Asked Questions
How Do I Check If My Hardwood Floor Is Uneven?
Use a level tool or a long straight board. Place it on the floor to see gaps or rocking. Mark low or high spots for fixing.
What Materials Are Needed To Level A Hardwood Floor?
You need wood filler, sanding tools, a floor leveler, and a putty knife. Sometimes, plywood or shims are also required for bigger gaps.
Can I Level Hardwood Floors Myself Safely?
Yes, small uneven areas can be fixed by homeowners. Wear safety gear and follow instructions carefully to avoid damage or injury.
How Long Does It Take To Level A Hardwood Floor?
Small areas may take a few hours. Larger floors can take a day or more, depending on damage and drying time of materials.
Conclusion
Leveling a hardwood floor improves both look and safety. Small steps like measuring and sanding make a big difference. Use the right tools and take your time for best results. A smooth floor feels better underfoot and lasts longer. Keep checking your progress to stay on track.
With patience, you can fix uneven floors yourself. Enjoy a beautiful, flat hardwood floor in your home.