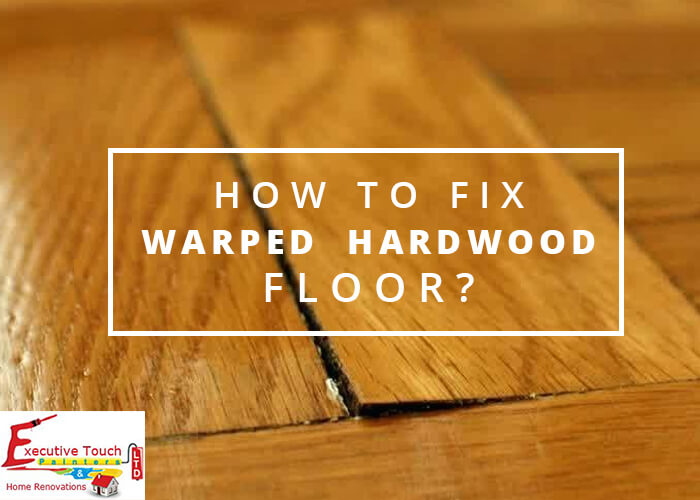
Are you noticing uneven bumps or waves on your wood floors? Warped wood can make your beautiful floors look old and damaged, and it might even cause trips or slips.
But don’t worry—fixing warped wood floors is easier than you think. You’ll discover simple and effective ways to restore your floors to their original smoothness. Keep reading, and you’ll learn how to bring back the beauty and safety of your home with just a few steps.
Your floors deserve the best care, and you’re just moments away from making that happen.

Credit: www.reddit.com
Identifying Warped Wood Floors
Warped wood floors cause uneven surfaces and may damage your home’s look. Identifying warped wood early can save time and money. Knowing the signs and causes helps you act fast.
This section shows how to spot warped wood floors and explains why warping happens.
Common Signs Of Warping
Look for raised edges or gaps between floorboards. Floors may feel uneven underfoot. You might see cupping, where edges rise higher than the center. Crowning happens when the center is higher than edges. Buckling is a severe form, with boards lifting off the floor. Notice any strange noises when walking on the floor. These signs mean your wood floor needs attention.
Preparing For The Repair
Preparing for the repair of warped wood floors sets the stage for success. Careful preparation helps avoid mistakes and saves time. It also ensures you have the right tools and understand the damage clearly.
Take time to gather everything needed before starting. Knowing the damage depth guides your repair steps. This section breaks down these important tasks.
Gathering Necessary Tools
Collecting the right tools is the first step. Common items include a hammer, nails, pry bar, wood glue, clamps, and a moisture meter. A sanding block or floor sander might be needed for finishing. Have safety gear like gloves and goggles ready. Preparing tools in advance prevents interruptions during repair.
Assessing The Extent Of Damage
Check how much of the floor is warped. Look for buckling, cupping, or gaps between boards. Use a moisture meter to detect excess moisture causing warping. Small areas may need simple fixes. Large damage might require board replacement. Understanding the severity helps plan the right repair method.
Drying And Flattening Warped Boards
Drying and flattening warped wood boards is a key step in fixing wood floors. Warped boards bend or twist due to moisture changes. Restoring their flat shape improves the floor’s look and safety. The process involves carefully removing moisture and applying pressure to reshape the wood. Patience is important to avoid damage and get good results.
Using Moisture Control Techniques
Start by controlling moisture around the warped boards. Use a dehumidifier to lower room humidity. Place fans near the floor to increase air circulation. Avoid direct sunlight on the wood to prevent uneven drying. Check the wood’s moisture level with a moisture meter. Aim for a steady, slow drying process to reduce cracking.
Applying Weight For Flattening
Once the wood is dry, apply weight to flatten it. Place a flat board on top of the warped piece. Use heavy objects like bricks or books on the flat board. Leave the weight in place for several days. This pressure helps the wood return to its original shape. Check progress regularly and adjust weight if needed.
Credit: etpainting.com
Replacing Severely Damaged Planks
Replacing severely damaged planks is essential for restoring your wood floor’s beauty and strength. Warped boards can cause uneven surfaces and weaken the floor structure. Removing and replacing these boards helps maintain a smooth, safe floor. This process requires careful handling to avoid damaging surrounding planks.
Removing Warped Boards Safely
Start by clearing the area around the damaged plank. Use a circular saw set to the plank’s thickness. Cut along the plank’s length to avoid harming neighboring boards. Gently pry up the cut pieces with a crowbar or chisel. Take your time to prevent splintering. Remove all nails or staples left behind. Clean the subfloor surface before installing new wood.
Installing New Wood Pieces
Choose replacement planks that match the existing floor. Check color, grain, and thickness for a uniform look. Apply wood glue to the subfloor area. Fit the new plank snugly into place. Tap gently with a hammer and block to secure it. Nail or staple the plank down firmly. Sand the edges to blend with the floor. Finish by applying stain or sealant to match the surrounding floor.
Preventing Future Warping
Preventing future warping is key to keeping wood floors strong and beautiful. Warping happens when wood absorbs too much moisture or dries out too fast. Controlling moisture and checking your floors often can stop warping before it starts. This section shares simple steps to protect your wood floors for years.
Maintaining Proper Humidity Levels
Wood reacts to humidity changes by expanding or shrinking. Keep indoor humidity between 30% and 50%. Use a humidifier in dry months. A dehumidifier helps when air is too wet. Avoid placing floors near water sources or vents. Stable humidity keeps wood stable and reduces warping risk.
Regular Floor Inspection Tips
Look at your floors every few weeks. Check for signs of warping like bubbles or gaps. Notice any soft spots or discoloration. Early detection helps fix problems fast. Clean floors gently with a damp mop. Avoid soaking floors with water. Regular care keeps wood healthy and warping-free.

Credit: www.networx.com
Finishing Touches For Lasting Repair
Fixing warped wood floors is only part of the job. The finishing touches make the repair last longer. Proper steps after fixing ensure the floor looks great and stays strong. These final steps protect your work and keep the wood healthy.
Sanding And Refinishing
Start by sanding the floor smooth. Sanding removes old finish and any rough spots. Use a fine-grit sandpaper for the best surface. Sand with the grain to avoid scratches. Clean up all dust after sanding. Apply a wood stain if you want to match the color. Let the stain dry completely before moving on.
Next, apply a fresh coat of finish. Choose between polyurethane, varnish, or oil-based finishes. These protect the wood and add shine. Apply thin, even coats with a brush or roller. Allow each coat to dry fully. Lightly sand between coats for a smooth finish. Two to three coats give the best protection.
Sealing And Protecting The Floor
Sealing the floor stops moisture from causing future warping. Use a high-quality sealant designed for wood floors. Apply the sealant evenly and cover all areas. Let it dry according to the product instructions. Keep furniture off the floor during drying. Regularly clean the floor with a soft broom or vacuum. Avoid wet mops that can damage the wood.
Protect the floor by using rugs in high-traffic areas. Place pads under furniture legs to prevent scratches. Maintain indoor humidity between 35% and 55%. Proper humidity keeps wood stable and prevents warping. These simple steps help your floor stay beautiful and strong for years.
Frequently Asked Questions
How Can I Tell If My Wood Floor Is Warped?
Warped wood floors often look bent or cupped. You might notice uneven spots or gaps between boards. Walking on them could feel bumpy or uneven.
What Causes Wood Floors To Warp?
Wood floors warp mainly due to moisture or water exposure. High humidity or spills that sit too long can cause damage. Changes in temperature also affect the wood’s shape.
Can Warped Wood Floors Be Repaired Without Replacement?
Small warps can be fixed by drying and flattening the wood. Sanding and refinishing might help smooth out minor warps. Severe damage may still require board replacement.
How Do I Prevent Wood Floors From Warping Again?
Keep your home’s humidity between 30% and 50%. Clean spills quickly and avoid excess water on floors. Use a dehumidifier in damp areas to protect wood.
Conclusion
Warped wood floors can cause many problems at home. Fixing them takes patience and the right steps. Start by identifying the cause of the warping. Dry the area well and control moisture levels. Use proper tools to repair or replace damaged boards.
Regular maintenance helps keep floors flat and strong. Small repairs now save big costs later. Enjoy a smooth, beautiful floor that lasts longer. Keep your home comfortable and safe with care. Simple actions make a big difference for your wood floors.